The time we spent volunteering at Palmar Tent Lodge went a little like this:
Wake up, go for a stroll, bartend/greet new guests, enjoy the sun, talk to Bob the parrot, and in between these tasks, we’d do some awesome DIY projects for the lodge. One of my favorites was making new drinking glasses for the bar. Since it’s a small island, there were few places to buy decent drinking glasses, and what’s more fun than making your own?!
STEP 1:
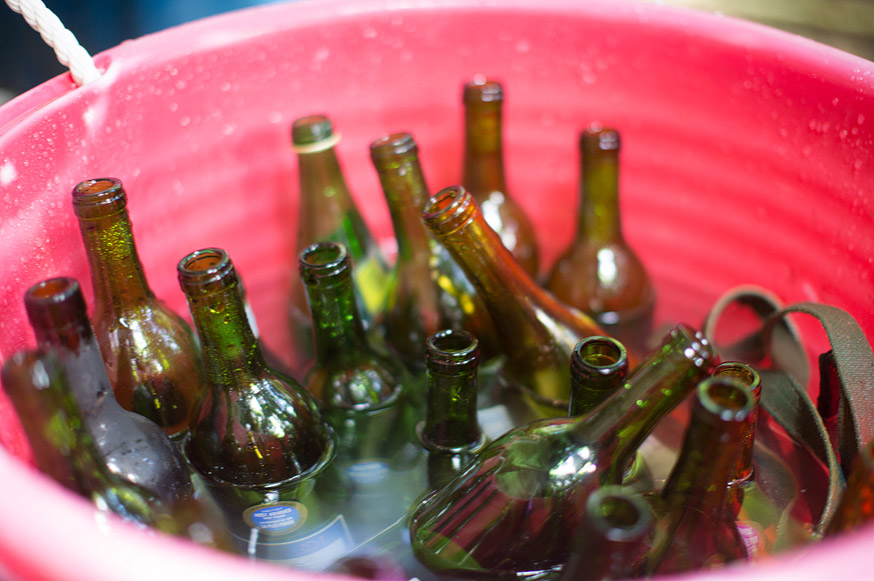
Collect awesome bottles! Then you soak them in water for a few days so the label will come off easily. You CAN speed it up by soaking them in boiling water, but some of the stickiness may remain on the bottle depending on the label.
Tip: It’s VERY important to remove ALL of the stickiness/glue and label before you begin. Otherwise it will affect the quality of the cut on the glass.
STEP 2:
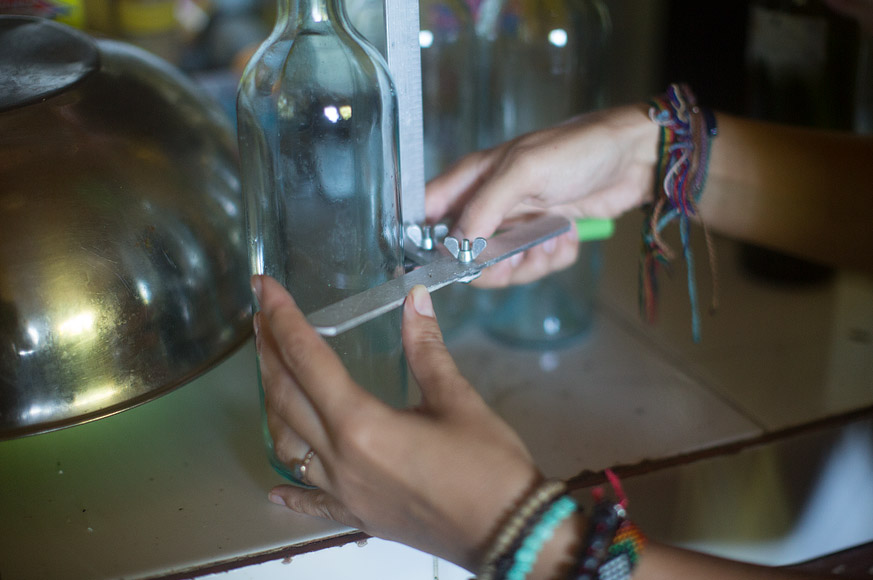
Kristin found a simple and extremely efficient glass cutter on Amazon that creates a thin hairline scratch around the circumference of the bottle.
You begin by keeping the bottom of the bottle flat on whatever surface you’re working on and keeping it level so the cut is even. Then steadily turn the bottle while pressing the cutter into the glass, stopping once you complete the cut all the way around.
Tip: Do NOT reinforce the cut. Once you get all the way across once, STOP.
STEP 3:
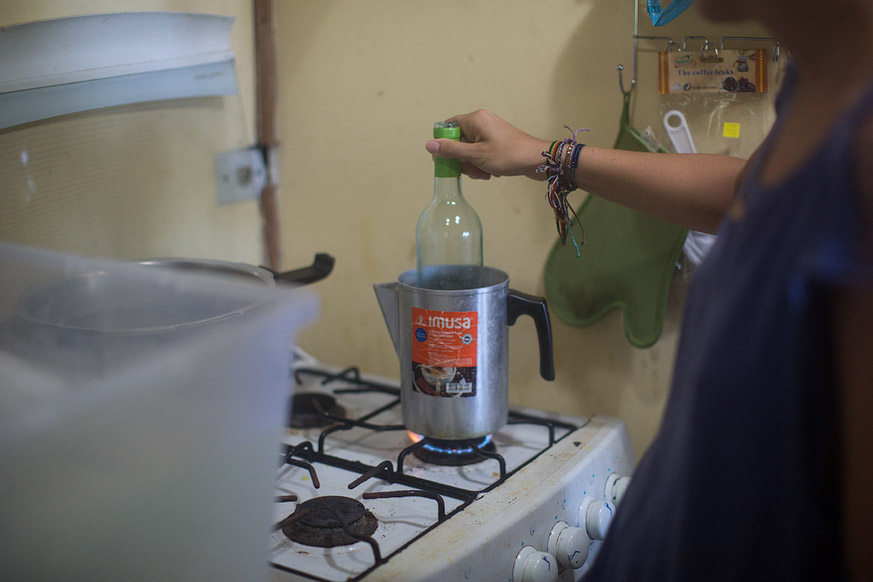
You create two water baths. One has to be boiling water (must must must be boiling) and the other is an ice bath (with lots and lots of ice!)
The point is to make both of the temperatures extreme to quickly separate the glass at the cut. I’ve made mistakes where I got too impatient to wait for the water to boil, but it’s very important to wait! Or else the glass will crack in places you don’t want it to, and boom, another one bites the dust.
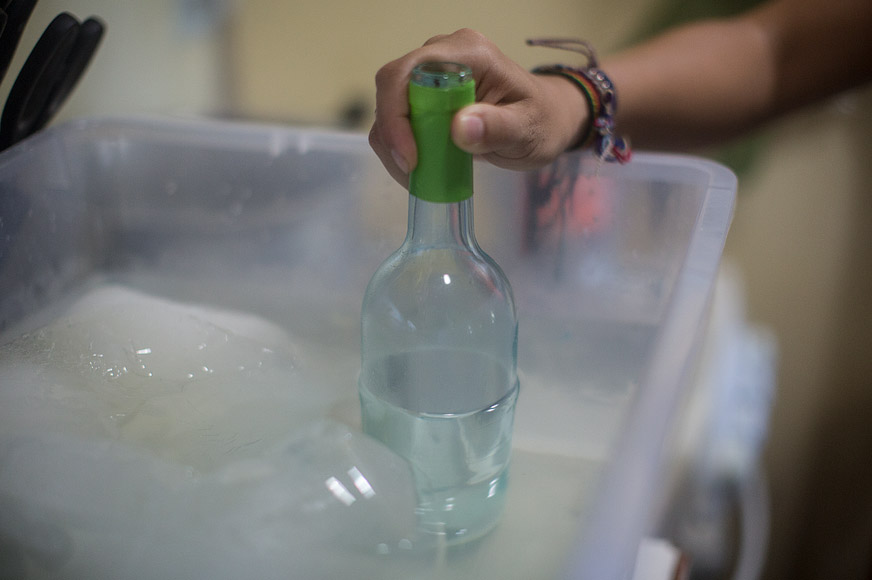
The first couple tries may yield some uneven edges, but keep at it.. you’ll get it eventually! Start out with practice bottles first, and save the fancy ones for when you get the hang of it.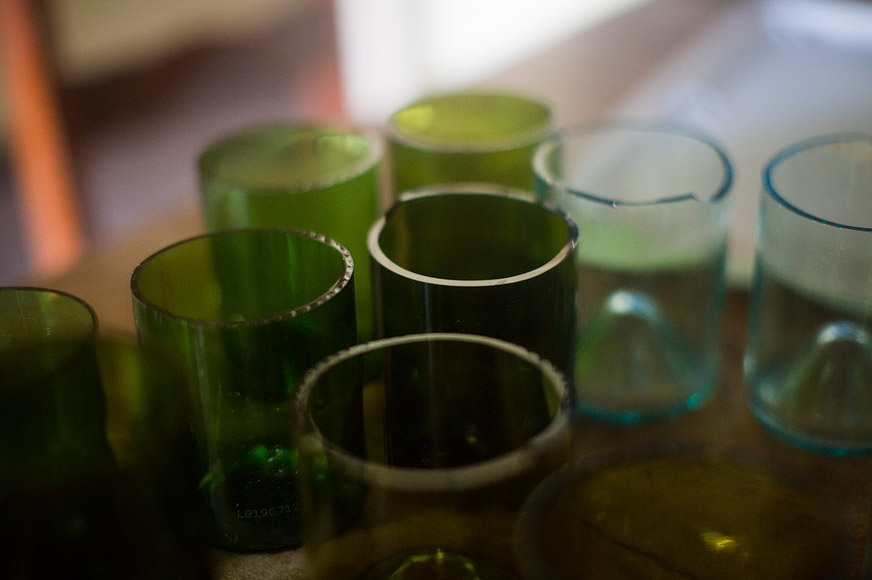 STEP 4:
Voila! You’ve got yourself a glass– BUT beware.. the edges are extremely sharp and dangerous. Both Mike and I cut ourselves pretty bad! We used the Dremel Engraver to sand down the edges and create pretty designs.
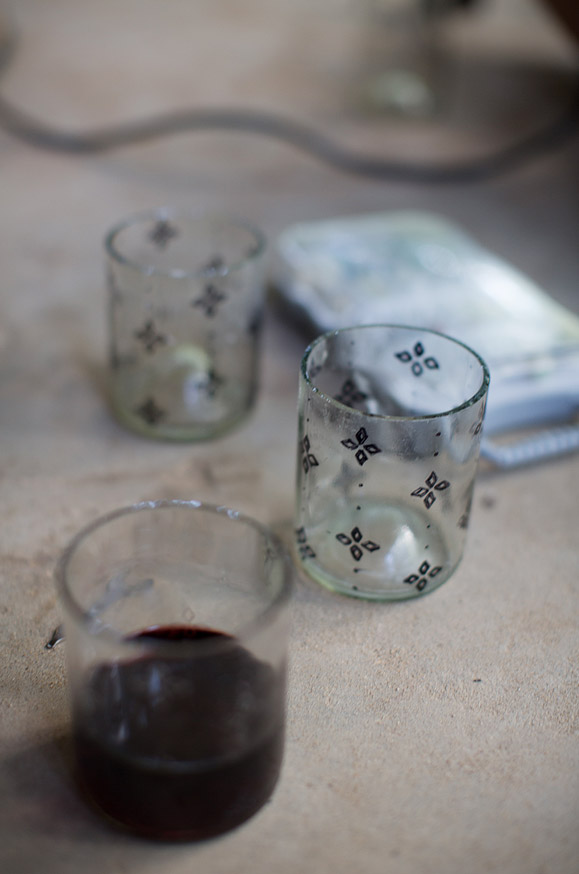 Ta-DA!
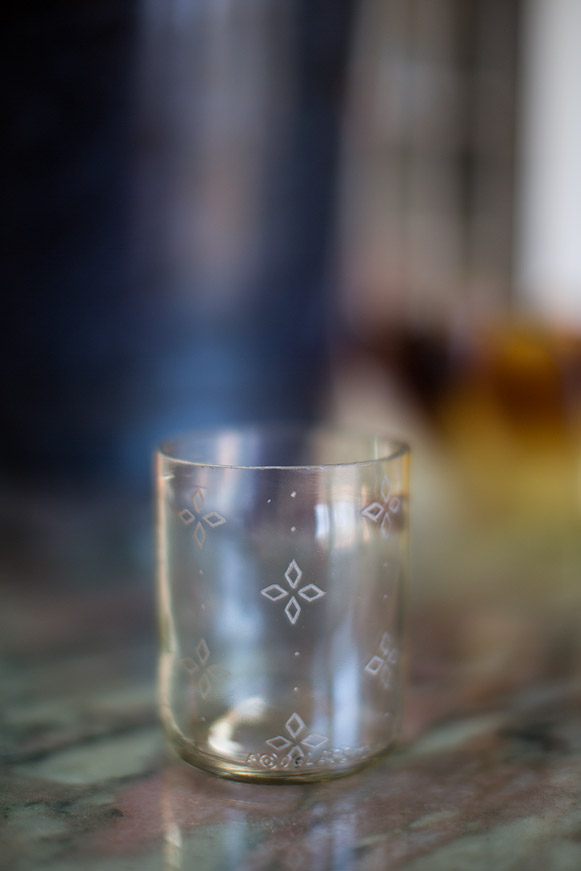
Enjoy!
This is the best way to recycle wine bottles the good thing about this idea is that you can simply help our environment by recycling at the same time you can personalize your drinking glass.
Yes I also believe it man! He designed the recycled glasses in a tremendous way! I love to read this post and also the presentation was awesome!!!
Thank You for your glass cutting instructions and making process of the drinking glasses out of recycled wine bottles. I have cut many bottles for craft projects and did not have great luck. It looks like this cutter is great. Thank you again for taking your time to share.
Help us recycle empty wine bottles by converting them into beautiful glassware.